By Harry Martin
Metering can be a confusing topic, with lots of different modes and ways of controlling the camera’s exposure. Having a basic understanding of what your camera is doing is key to helping you get to grips with setting the perfect exposure while shooting. Metering is simply a way of assessing the light levels of a given situation to help you determine the exposure you need.
Back in the days of film this was done by using a hand-held light meter. Nowadays, every digital camera has an in-built light meter. This meter is what is used by the camera to determine what the correct exposure (combination of exposure time and aperture) should be when you press the shutter button. This integrated light meter measures the reflected light that enters the camera.
Whatever metering mode is selected on the camera, this integrated light meter is looking to create a mid-tone grey. This is important to remember when pointing your camera at extreme situations such as bright white snow, or deep shadows. The camera sees these tones, but will aim to make them a mid-tone. Every wondered why your snowy landscapes come out sludgy grey? Now you know!
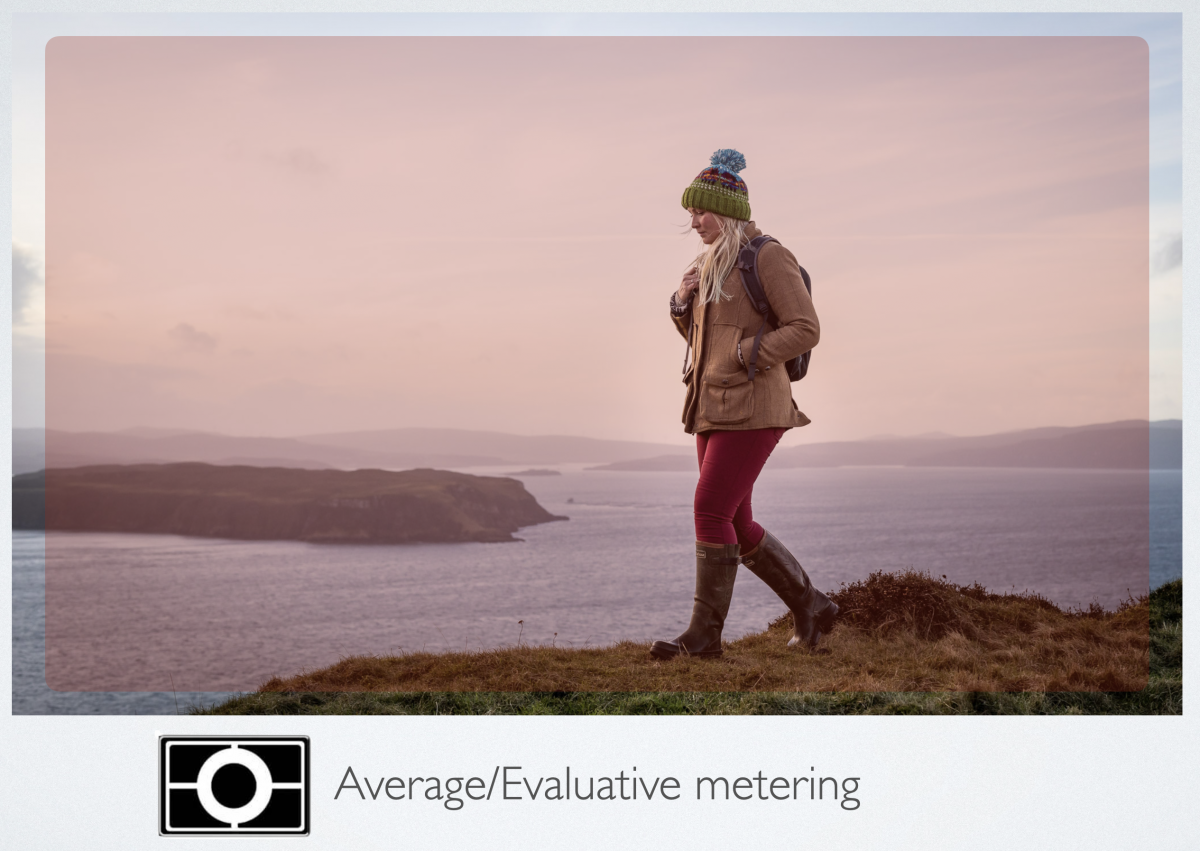
The metering options built in to most cameras allow you to alter the overall area size that you can meter in your scene. By default most cameras will have an average setting, metering from around 90% of the frame. These average metering modes can be quite clever. Called matrix metering by Nikon, and evaluative by Canon, they assess differences in tone across the scene, and even prioritise the area you are focused on, assuming this is an important part of the scene. Using these evaluative modes works for the majority of situations, and should be the default setting your camera is always set to.
Exposing a scene correctly can get difficult, however, in situations with vastly different light levels and intensities. Backlit subjects are a good example of this. If using an average metering mode, backlit subjects will often be incorrectly exposed as priority is given to the bright sky.
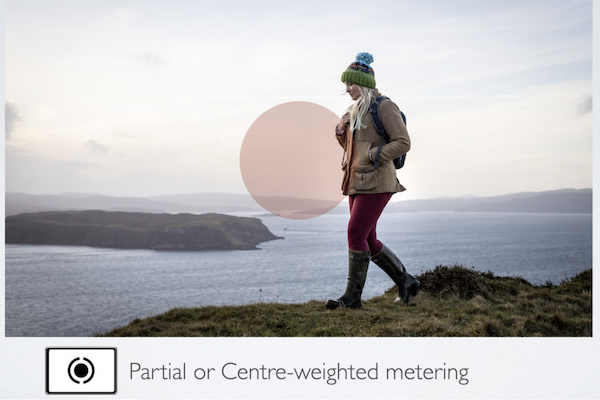
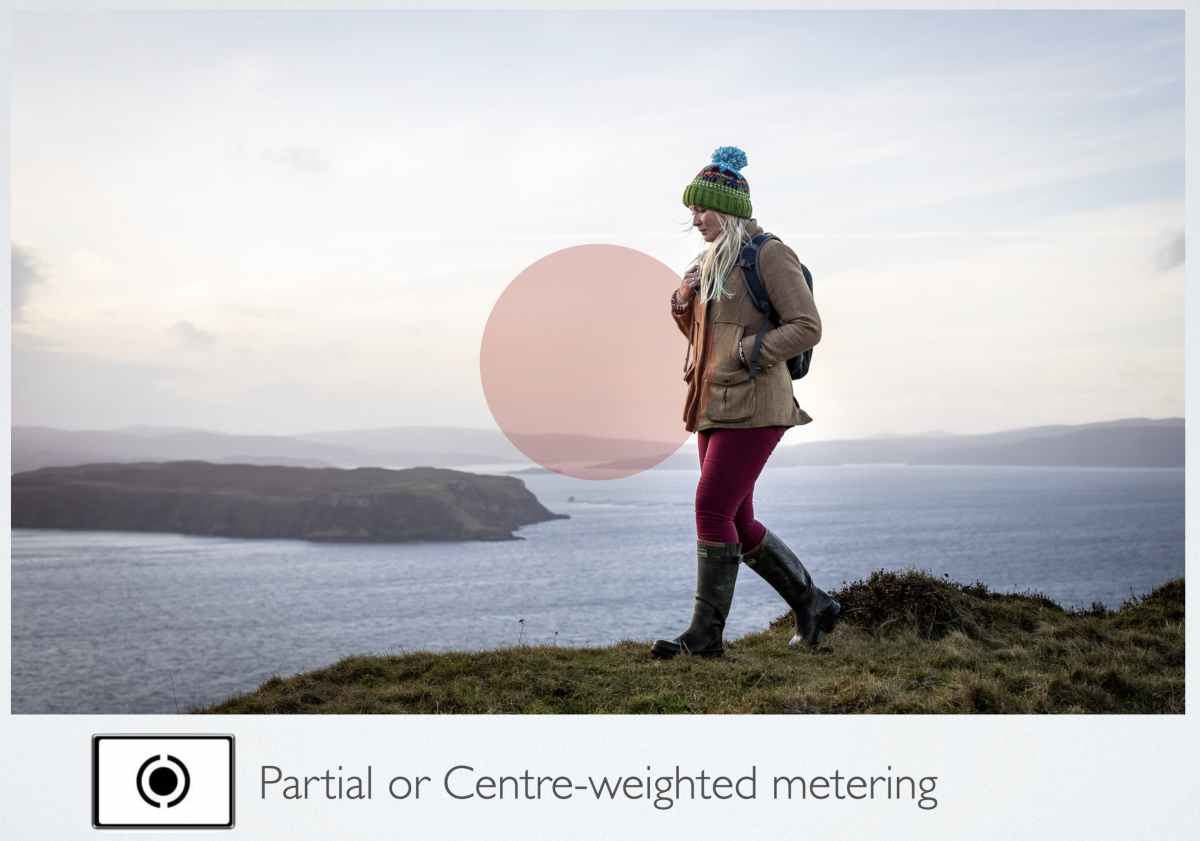
In these situations the other metering modes available on a camera can come in useful as they help to restrict the proportion of the scene being metered from. Typically these come in two main types. Centre-weighted metering will only meter from the very middle of the scene, ignoring the focus point you have selected. This is obviously useful when your subject is right in the centre of shot.
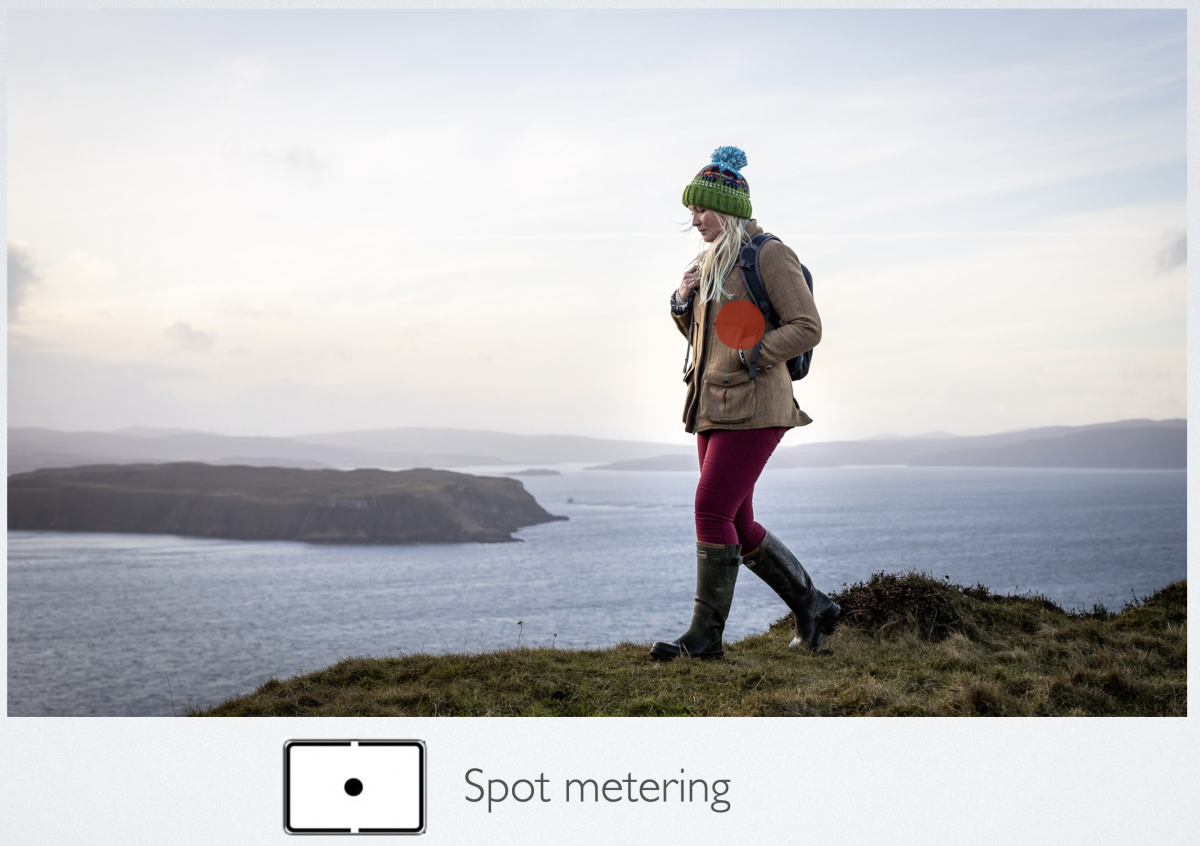
Spot metering is a more accurate metering method. It will only evaluate the light around the focus point you have selected, ignoring everything else. This can make spot metering tricky to use, but it is extremely useful when you have a subject taking up a small proportion of the frame. When using spot or centre-weighted metering, it’s always a good idea once you have finished to reset the mode back to your average metering setting. This will prevent any mistakes when you pick the camera back up again and you’ve forgotten left it in spot metering mode.
Conclusion
Whatever metering mode you opt for, and whichever mode you are photographing in (except for fully automatic mode), the camera’s meter should be a guide. It is useful for getting your exposure in roughly the right place before you start to fine-tune it. Fine-tuning your exposure is best done using the histogram – the single most useful feature on any digital camera. By checking the histogram you can double-check if the exposure needs adjusting, either through the use of exposure compensation if shooting in a semi-automatic mode (aperture or shutter priority) or through a combination of settings in full manual mode.

Remember – You are in control of the camera, not the other way around.