Photography is not all about taking amazing images which are good enough to be hung on a wall or entered into competitions. I’m often asked what my favourite photo I have ever taken is, but this is as difficult as someone asking for your favourite song – there are likely to be many answers depending on the mood and situation at the time. If the question was “If you had to delete every photo you had ever taken except for one, which one would you keep?”, then the answer would be simple – I would keep one of my kids.
I am probably not alone in thinking that my most sentimental photos are of family, and that most of these are taken whilst on holiday. When out and about, either on Skye or abroad, I often see families on holiday taking photos of themselves to document their experiences. I understand that they are not trying to win any awards with the results, but so often I can see they are doing something fundamentally wrong and have to resist the urge to run over and help. Surely such precious photos which capture a never-to-be-repeated moment in time want to be as good as possible? If you agree then I’ve come up with a few handy tips aimed at the holiday snapper – those who want to take better photos but wouldn’t class themselves as photographers…
1. Landscapes
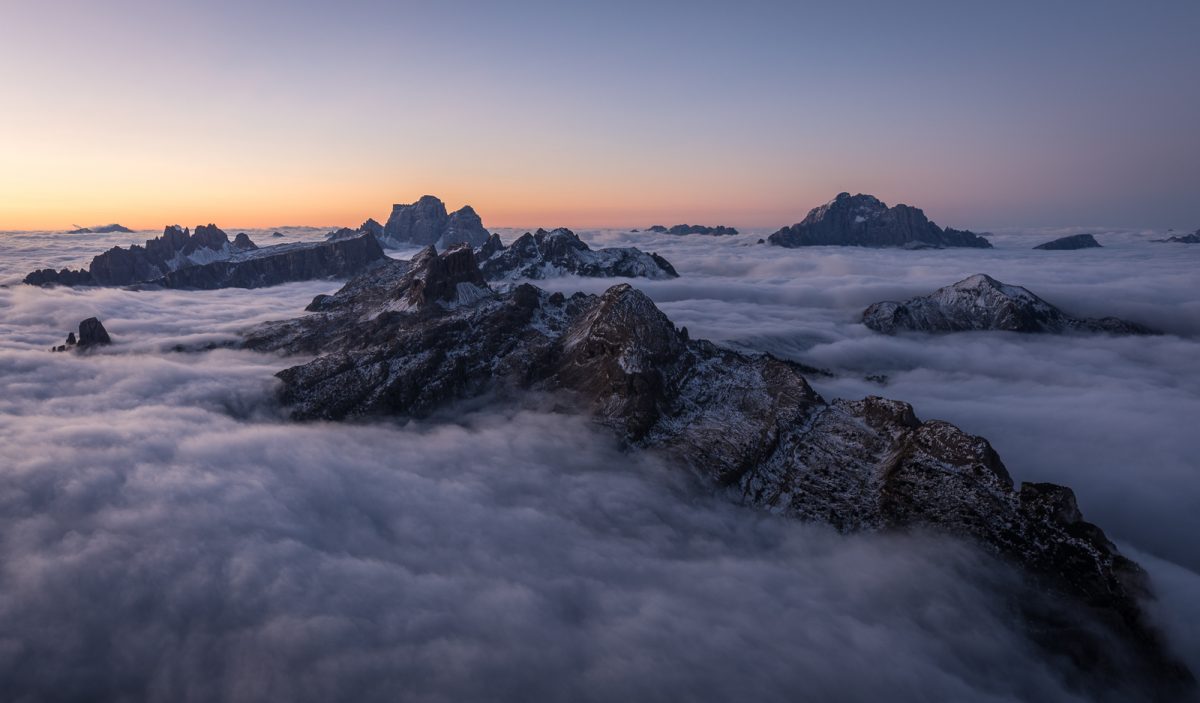
If you want to take a shot of a location you are visiting then ideally you want to have the Sun reasonably low in the sky and off to the side. This creates softer light and longer shadows which are far more pleasing in a photo. This isn’t going to be the case if you are at a location in the middle of the day, so you may want to think about trying to venture out earlier or later than you would normally do. The other advantage to this is that there are likely to be less people around, so as well as getting better light on your subject, it’s also likely you’ll have a better experience of the place you are visiting. The lower the Sun is in the sky, the more attention needs to be placed on where it is in relation to yourself and your subject. The last place you want the Sun to be is behind you, as this gives a horrible flat light with few shadows. It’s amazing how even some experienced photographers don’t pay attention to this, and I often see images from people who should know a lot better, with the Sun right behind them (mentioning no names!).
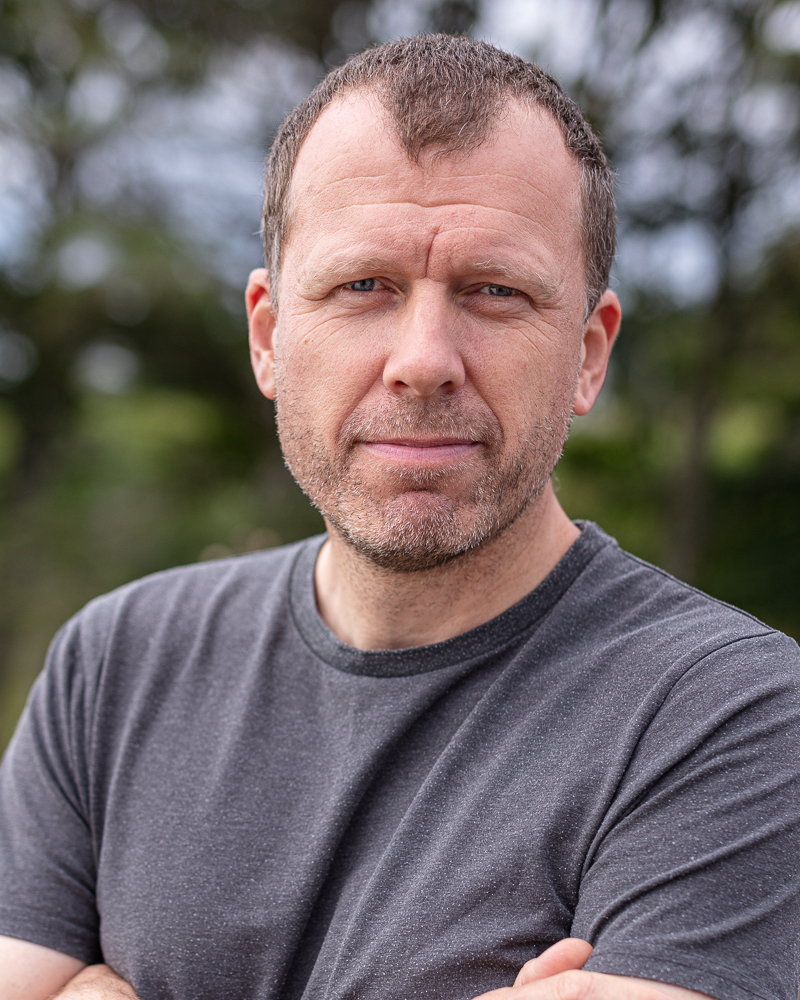
2. Portraits
The same rules apply for the position of the Sun. If it’s behind you, then your subject will be squinting, and if it’s in front of you (ie – behind your subject) then you’re going to end up with a silhouette. If possible, try to position your subject in the shade, but close to where there is sunlight hitting the ground. This is likely to provide a very flattering light and a sparkle in the eyes. Overcast days provide great light for portraits.
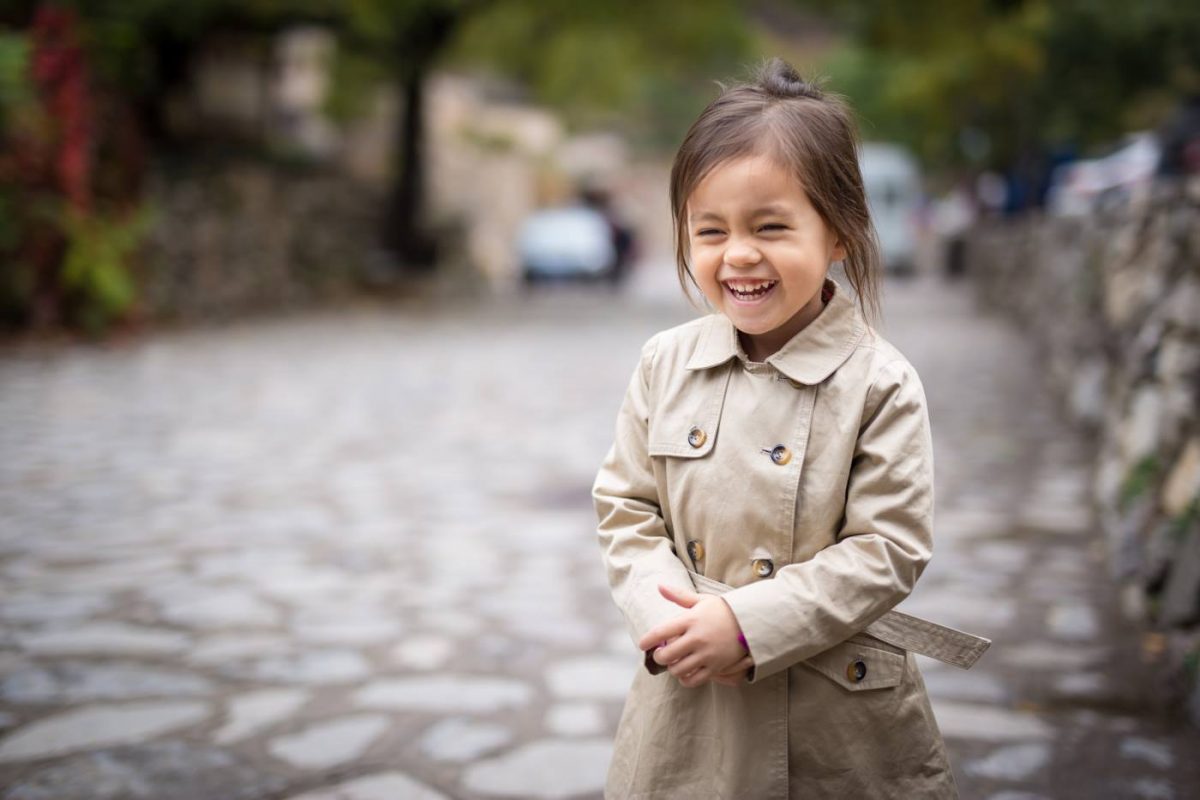
3. Kids
When photographing kids, make sure you get down to their eye level, as looking down on people rarely has a pleasing outcome. The same rule applies to anyone sitting down – don’t stand over them and point the camera downwards. Instead, crouch or kneel to bring the camera down to their eye level. This gives a much more personal connection between the viewer and the subject. Try to capture natural expressions rather than false smiles. If you ever find yourself shouting “say cheese” then it’s time to book yourself onto one of our workshops!
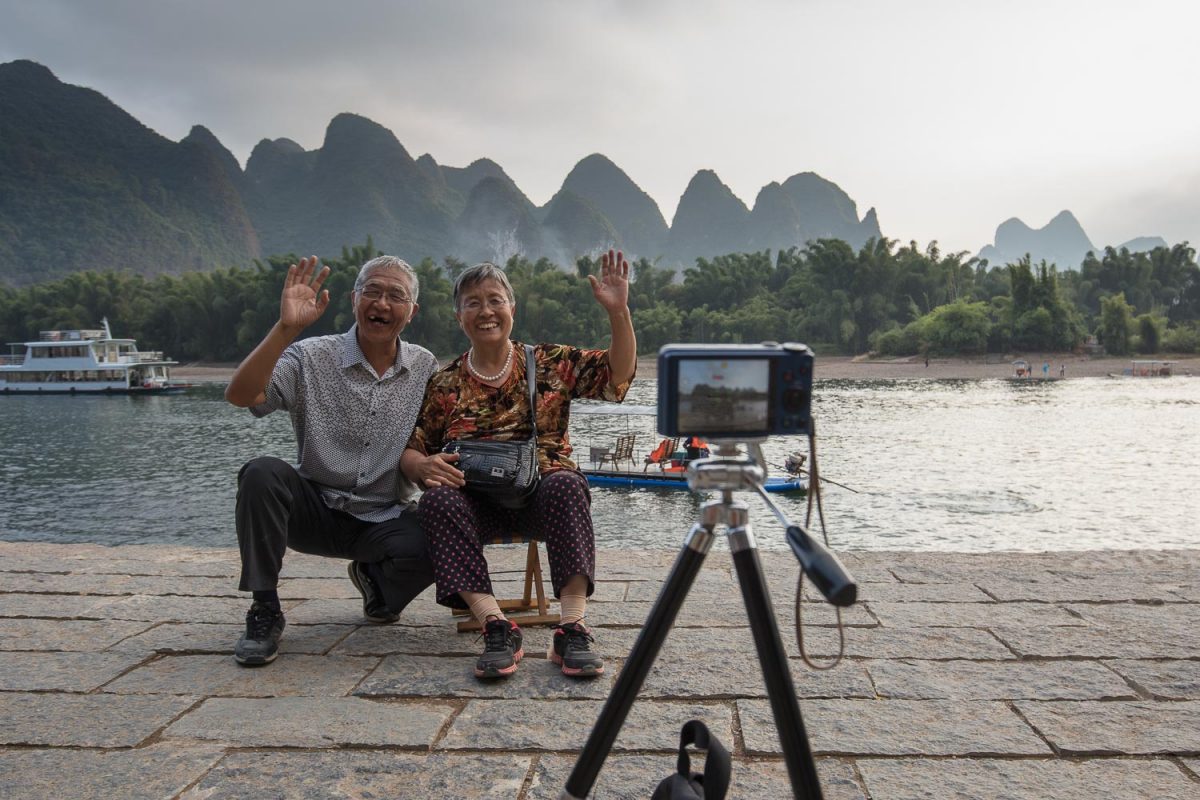
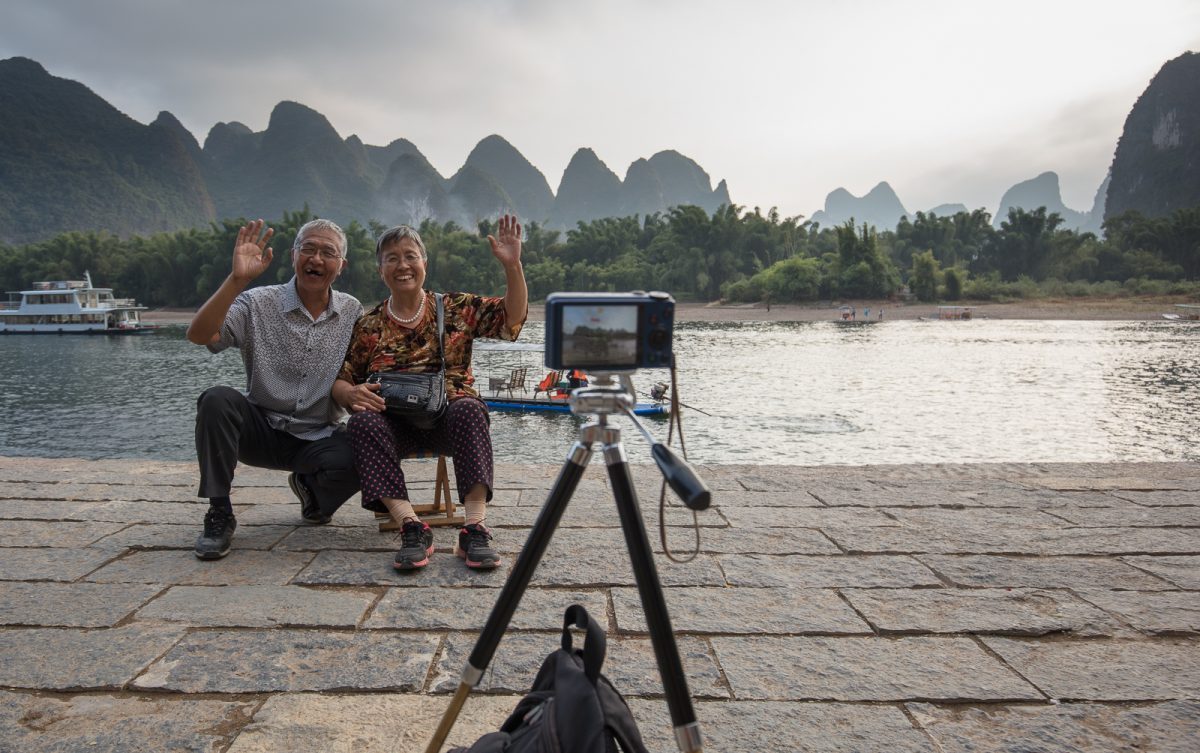
4. Strangers
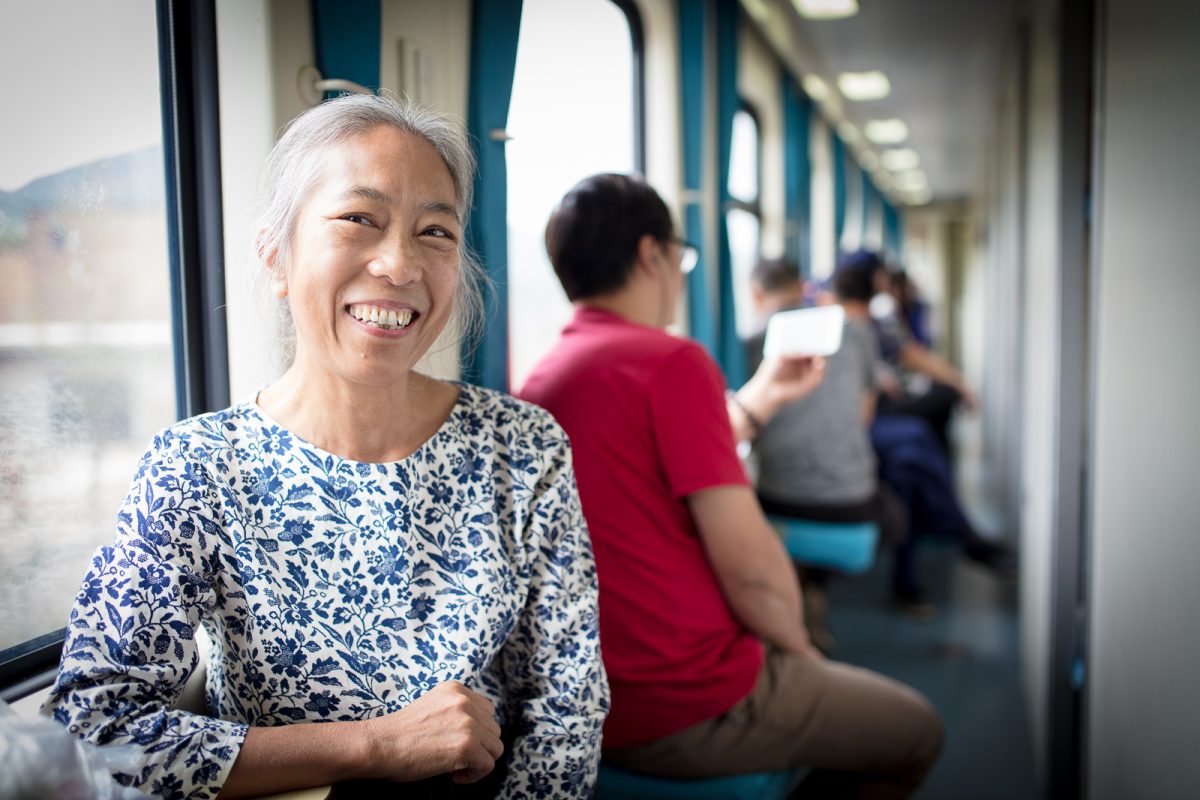
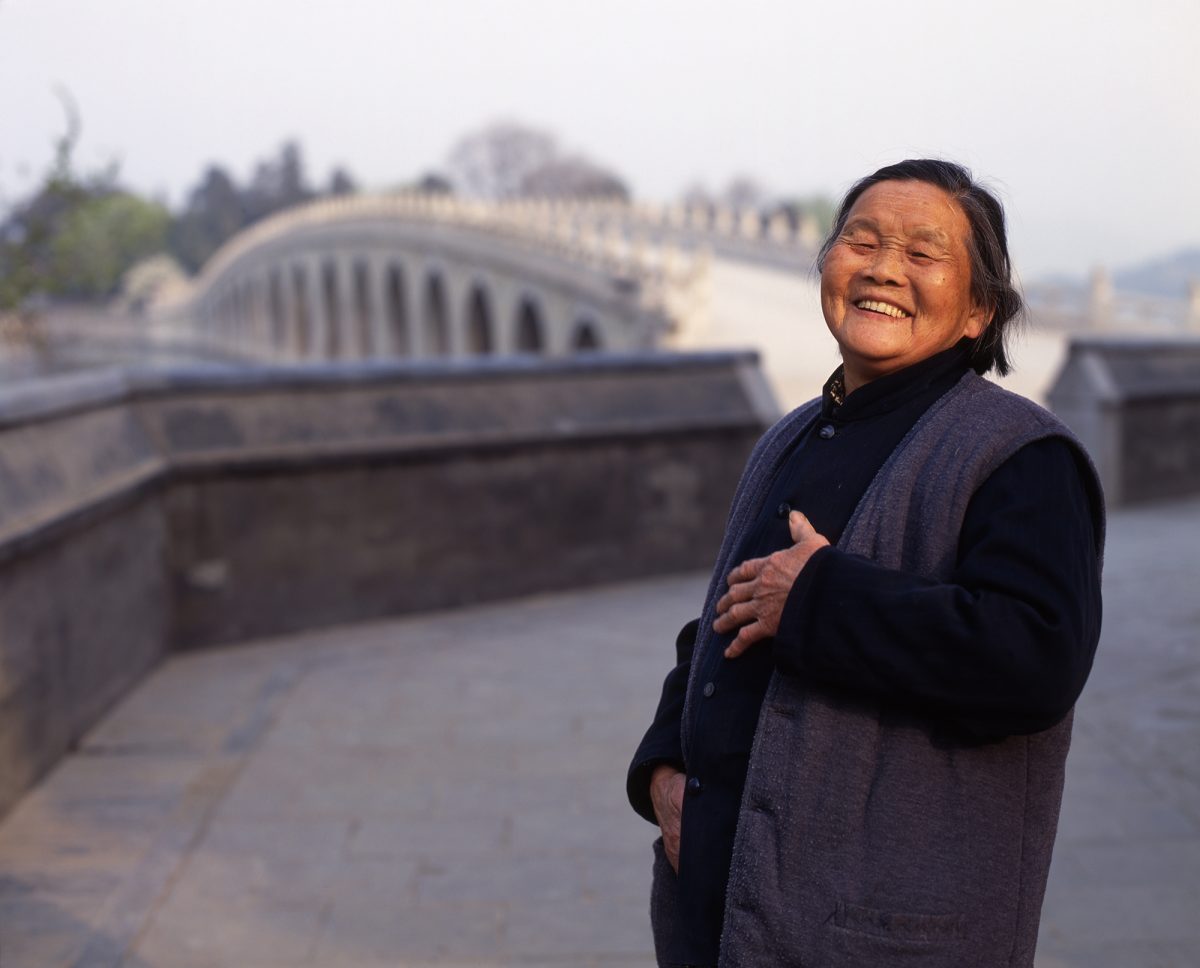
You can’t capture the spirit of a location without including local traditions and cultures. This is likely to involve photographing the local people going about their daily lives. This is the single most daunting area for most photographers, as they are petrified of being rejected. If you walk up to a stranger and ask them if you can take their photo, then the answer is most likely going to be “no”. This then dents your confidence to ask other people, and before you know it, you’ll have given up. If you see someone you would like to take a photo of then here’s what to do…
Approach them and say hello. Tell them your name and where you come from. Explain that you have come to visit their country and tell them what you have seen so far (being positive of course). Say that you are enjoying their country but are looking forward to going home to show friends and family what a great place this is. Basically you are building the impression that you are going to be an ambassador for their country. You can do all of this even if you don’t speak the same language, as it is amazing what you can communicate with just basic sign language and by showing photos of where you have been on the back of your camera. If communication is going well, ask a bit about them, as knowing about your subject can change the way you photograph them, and can provide a story to accompany the image. Once you feel the conversation is coming to a natural end, thank them, smile and say good bye. As you start to walk away, turn back and say “before I go, would you like me to take a photo of you?”. The answer now will almost certainly be a “yes”, as they will want to be part of your memories. Once you have someone’s permission, don’t just take a quick shot and then go. Take your time, and reposition them if necessary. They will want the photo to be as good as possible, so they should be willing to co-operate with your requests. It is always easier to get permission from people in rural and poorer areas than it is in urban and affluent ones. Please don’t give money to people in poor areas for taking their photo as it encourages begging.
5. Wildlife
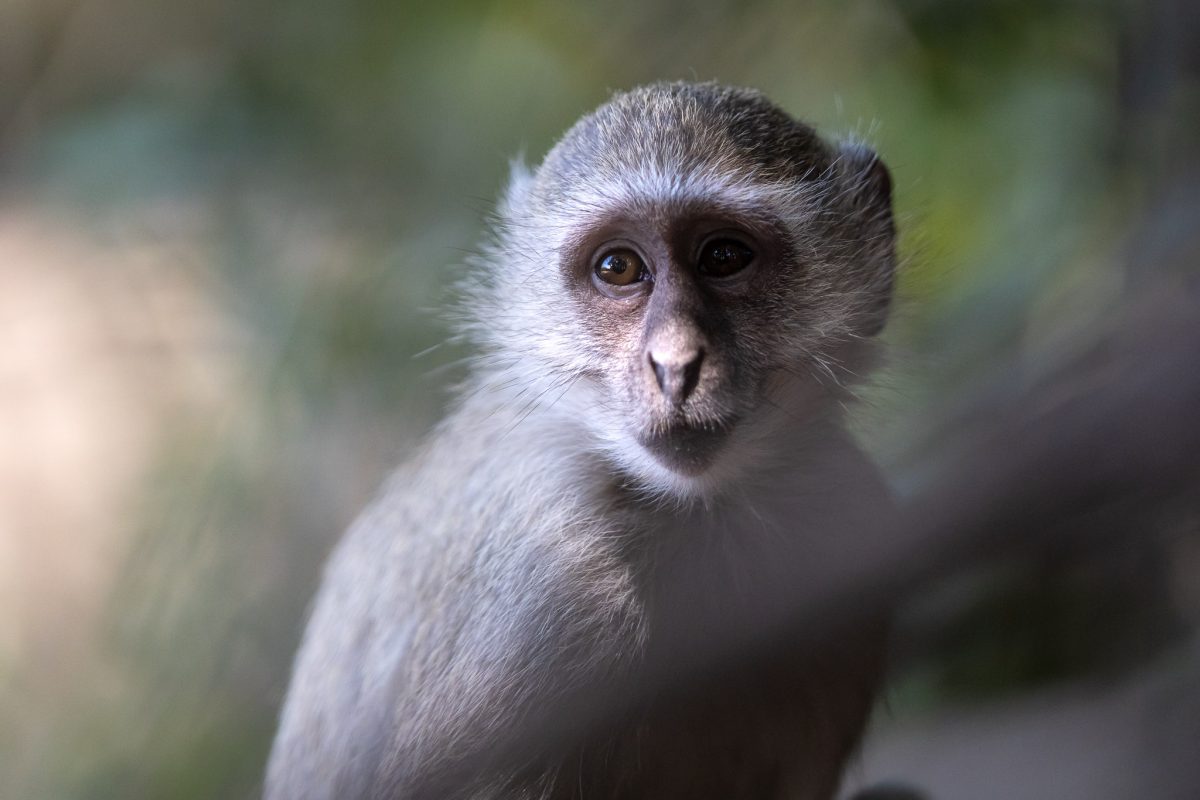
The most common mistake with wildlife photos is missing the moment. You need to try to predict what is about to happen, and get the camera ready. If you have your camera set to autofocus, then the chances are that there will be a delay between you pressing the shutter button and the photo being taken. This delay is caused by the camera focusing, and on some compact cameras this can be around a second, by which time what you wanted to photograph has gone or turned away. To enable the camera to take the photo instantaneously, pre focus by lightly pressing down on the shutter button until focus on your subject has been confirmed. Now keep your finger on the shutter and wait. When the moment you want to capture arrives, press firmly down to take the photo. If you want to take more than one shot of the same subject (assuming it’s not moving closer of further away), then as long as you don’t take your finger off the shutter, you can keep pressing and each photo will be instantaneous, as the focus has already been set.
6. Architecture
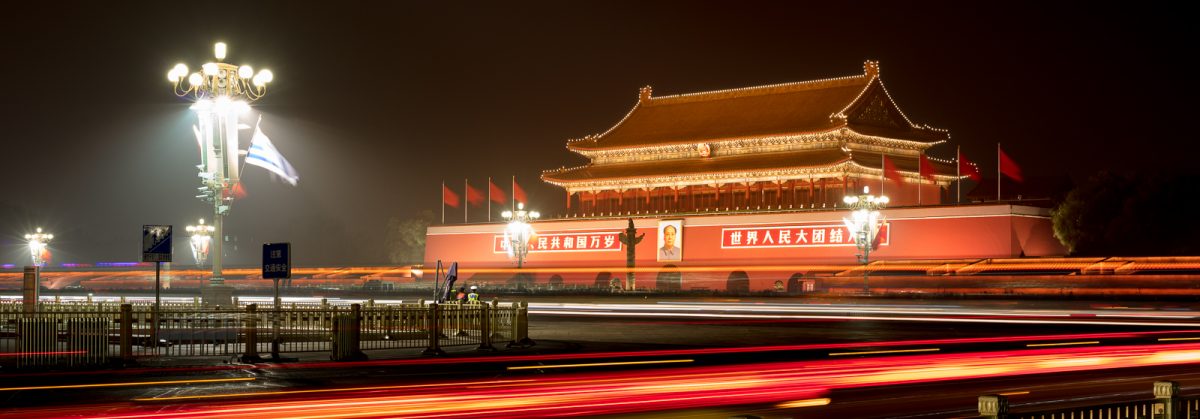
There are a couple of rules for ensuring decent architecture shots. The first is to avoid converging verticals – where a building looks like it is falling over backwards. This is caused when you point the camera upwards to include the top of a nearby or tall building. To avoid the falling building effect, you need to ensure your camera is pointing straight ahead – dead level. Assuming you are standing at street level, you will now probably have lots of unwanted foreground (pavement) at the bottom of the frame and will be cutting off the roof of the building at the top of the frame. Try to include the top of the building by either turning the camera on its side, zooming out, or moving further away from the building. The important thing is to get the entire building included in the frame without pointing the camera upwards. Take the shot and you will see that all the buildings are now upright and vertical. If you have excess unwanted foreground, simply crop it off in the computer. The other tip for shooting buildings is to try to include 2 sides where possible, ideally each one in different light. For example, if you shoot a square building from head on, you won’t be able to see either of its sides or the back. If you now move to your left or right and shoot the same building at 45 degrees, you will now be looking at the front and one of the sides of the building. If you can get the front in sunlight and the side in shade, then all the better. This helps give a three dimensional appearance.
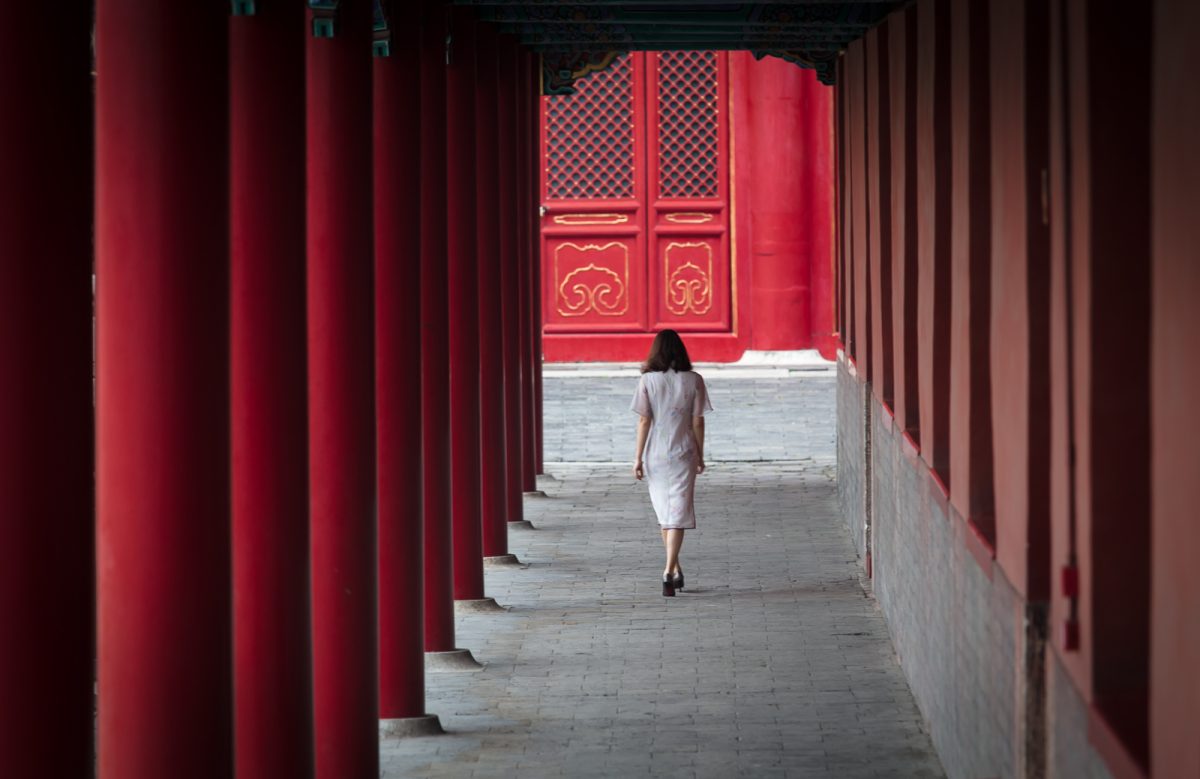
7. Composition
Try where possible to place your subject away from the centre of the frame. If your subject has a direction (ie – has a front and a back, such as a vehicle or a person) then always position it so that it is facing into frame. If your subject has no direction and is being side lit, then try to position it on the opposite side to where the light is coming from. Of course, if you have symmetry around your subject then placing it in the centre of the frame may work. Generally speaking though, positioning your subject off to one side gives a more pleasing balance to your photo.
8. Focal Point
Sometimes you will see a scene which attracts your eye and you may think “ooh, that will make a good shot”. However, on showing your friends your masterpiece, it might leave people glassy-eyed and holding back the yawns. A likely culprit could be because your photo is lacking a focal point – somewhere for the viewer’s eye to settle on. Adding an anonymous person to your scene can provide such a focal point, and it’s often just a case of being patient and waiting for the perfect subject to walk into the perfect position – click!
9. Technical
It sounds obvious, but make sure your lens is clean. This is a common mistake people make when shooting on their phones. How often do you check to see if the lens is free from grubby fingerprints when you take a shot on your phone? The smaller the lens, the bigger the problem of dirt and grease will be, so a phone will really suffer in this area. A clean lens will provide sharper images and increased contrast for crisp and clear photos.
10. Have fun!
Remember you are on holiday, and remember you take photos because it is fun. If you enjoy yourself, then your smiles will become contagious and the locals and people you meet will warm more easily to you. Interacting with the locals (as described in tip 4) will enrich your travel or holiday experience no end, so relax, smile and have fun.
If you’re heading off somewhere over the coming months, I hope you have a great time and with the above tips, manage to bring back some great photographic memories which can be admired for years to come. Have a great summer.