Winters here on Skye have a reputation for being dark, wet, windy and miserable affairs, but I think this does them a little injustice. I moved to Skye in 2009 and all the locals said that if I made it through my second winter then I’d be here for life. It’s a well know local philosophy – a newcomer to Skye gets through their first winter by assuming it must just be a really bad year. When the same thing happens again the following year, they pack up all their belongings and run as far as possible to warmer and gentler climes. However, my experience is slightly different, in that out of all winters I have spent here on Skye, half of them have been wonderful. I simply choose to forget about the other half!
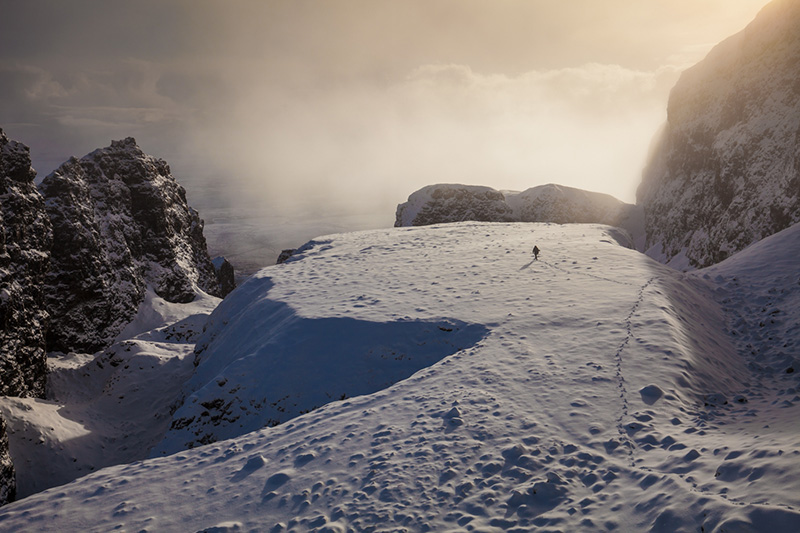
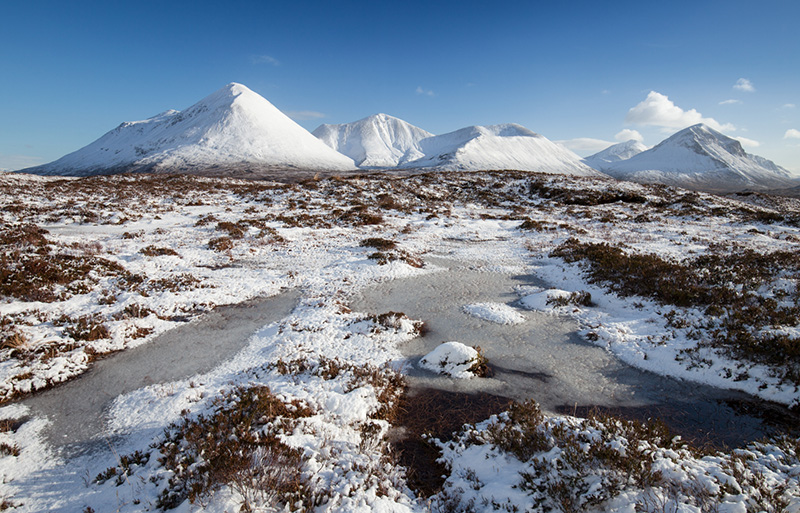
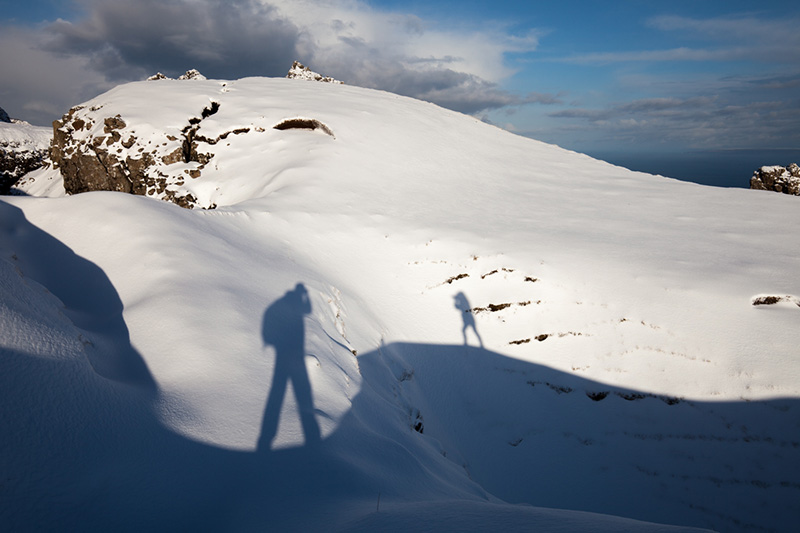
“Snow capped mountain summits glistening in the crisp winter sunlight” creates visions of the Italian Alpes or Himalaya, but this week it has been perfectly apt for Skye. I’ve ventured up to a couple of elevated locations where the snow is thicker and untouched. There’s something extremely satisfying about walking through a pristine landscape of virgin powder snow – like you’re the first person to ever visit.
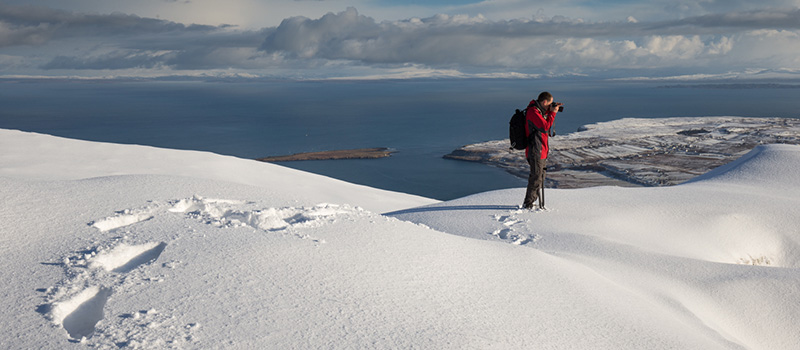
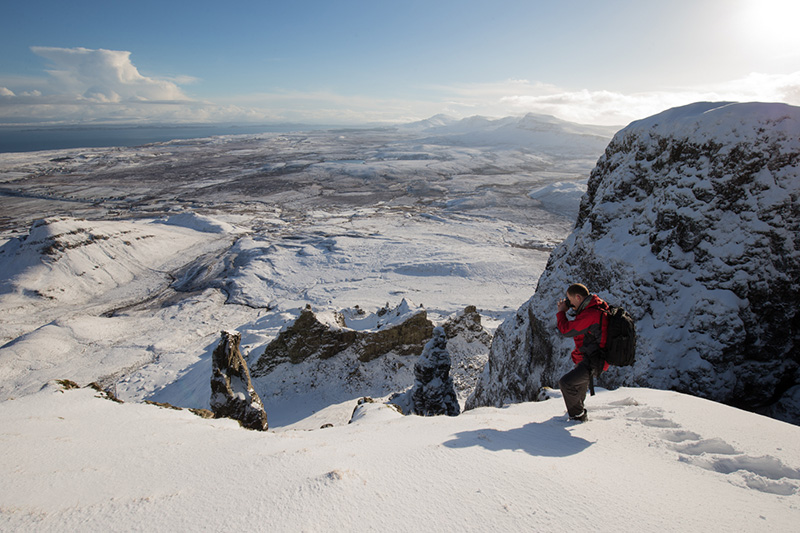
Clean tidy scenes make for great photography, so as you might expect, I’ve had a busy and tiring few days – climbing in the dark to get to locations for dawn, and staying out all day until well after dark. I find it compulsive to be out as much as possible in conditions like these, even going to the supermarket via viewpoints C, H, and K.
There are a couple of ways in which a snow covered scenes alters the way it is recorded by a camera, so this seems like a good opportunity to illustrate these.
The first is what you might see as a negative effect, in that your camera has been programmed to assume everything you point it at is, or should average out to be made up of tones which are exactly half way between black and white. Confusingly this is known as 18% grey and looks like this.
“But if it’s half way between black and white, why isn’t it called 50% grey?” I hear you cry. Well it’s referred to as 18% grey as that’s the amount of light which it reflects. A white piece of non glossy paper (or snow) typically reflects around 35% of the light which falls onto it, whereas a matt black subject might only reflect 2%. As you can now see, 18% is in the middle of the two extremes, and therefore represents a mid tone – often referred to as “mid grey” or “18% grey”.
If you use your camera on an auto or semi auto setting, when you point it at a white object, it has no way of knowing what tone the subject is, and will therefore give you an exposure to render it as a mid tone. Ever wondered why your snowy landscape shots come out too dark with snow that looks grey? Now you know.
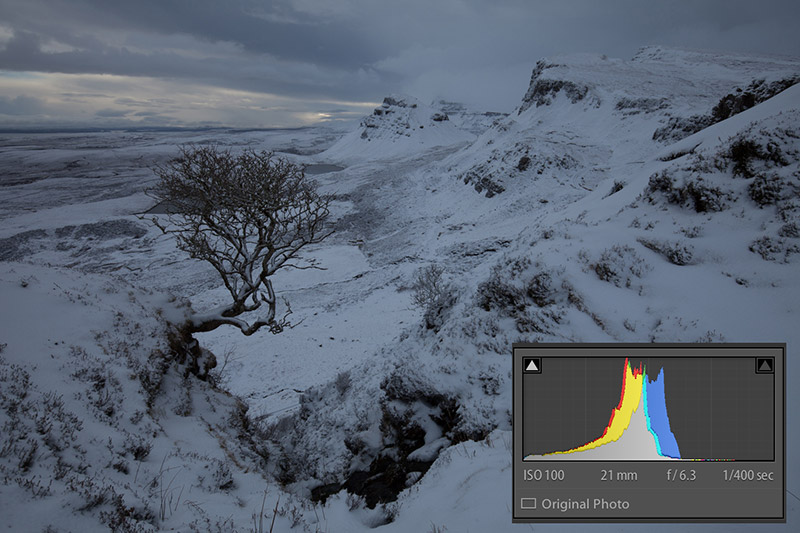
This scene was shot using the camera’s suggested exposure of 1/400th, at f6.3 – ISO 100. As you can see, the photo is too dark, and if you look at the histogram, all the tones are in the middle – exactly what the camera has ben programmed to do. Well done camera!

In this next shot of the same scene, I doubled the exposure by adjusting the exposure time to 1/200th, which delivers exactly twice a much light to the sensor as in our first shot taken at 1/400th. As we can see, it’s better, but if you look at the histogram, there’s still lots of room on the right hand side, which means we haven’t got anything close to a pure white yet.

Finally I double the exposure again by changing the time to 1/100th. This has effectively increased the exposure from the camera’s suggested setting by 4 times (doubled twice). Now the scene is looking natural and vibrant, with snow which actually looks white – yippee. Also note how we have managed to spread the tones present in the scene over the entire dynamic range. Now we will have detail in the shadow areas which wouldn’t have been present in the previous two shots. Note that you can only change the exposure time (as I have done in these examples) if you use Manual mode. If you use a semi automatic mode, as soon as you adjust the exposure time, the camera will try to compensate by altering either the aperture or the ISO. This is why I never use any auto or semi auto modes – they complicate your life.
If you must use an auto or semi auto mode, then you need to find something called “Exposure Compensation”. If you set this at around +2, then you’ll find that most of your shots will look as they should do, with snow rendered as white. Just remember to set it back to 0 after you have finished shooting your snowy scene otherwise the next time you go out with the camera in ‘normal’ conditions, all your shots will look too bright. Confusing huh?!
Whenever I teach photography, even with complete beginners, I always try to encourage them to use full manual mode, as situations like the one just described are far easier to deal with.
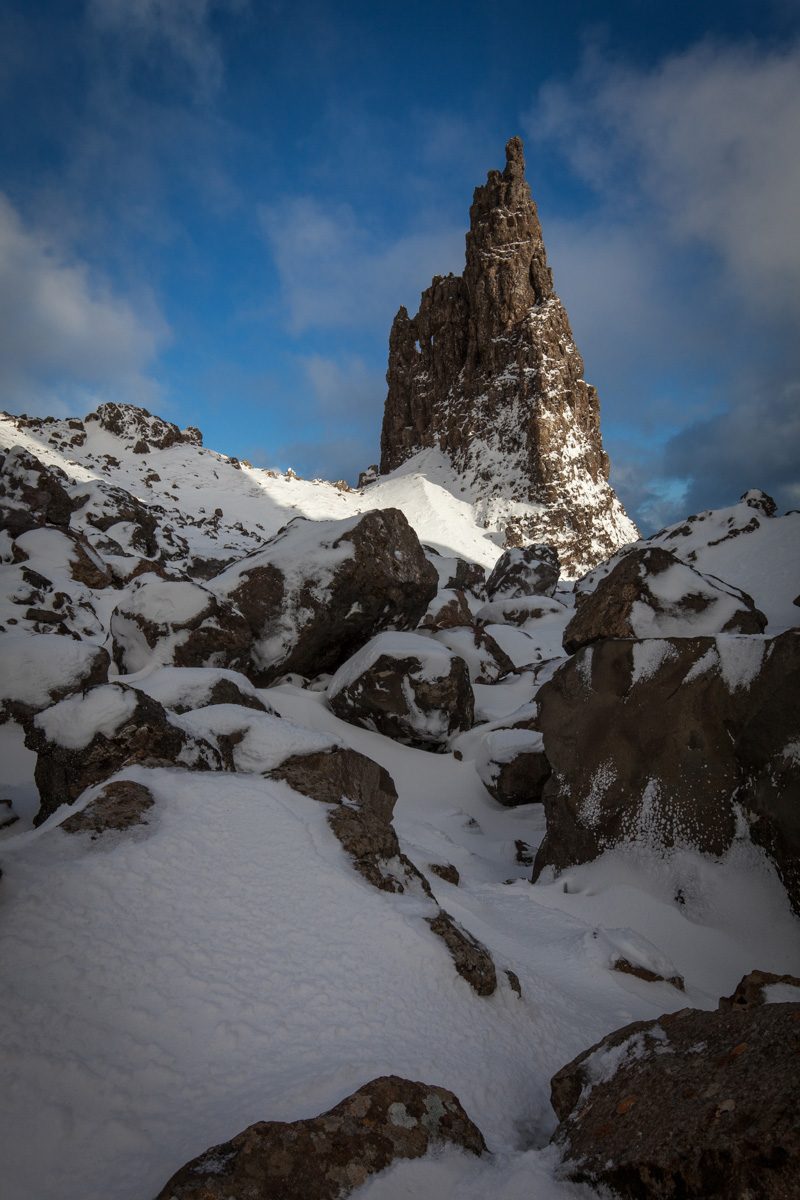
The second way in which snow changes the way a scene is recorded by a camera is that it reflects lots more light than the foliage or ground which it covers. This is certainly an advantage for the photographer, as it helps to bounce light into deep shadow areas, which reveals details which would otherwise be pure black. For example, you’ll rarely (if ever) need to use a graduated filter when shooting a snowy landscape, as the ground is often brighter than the sky.
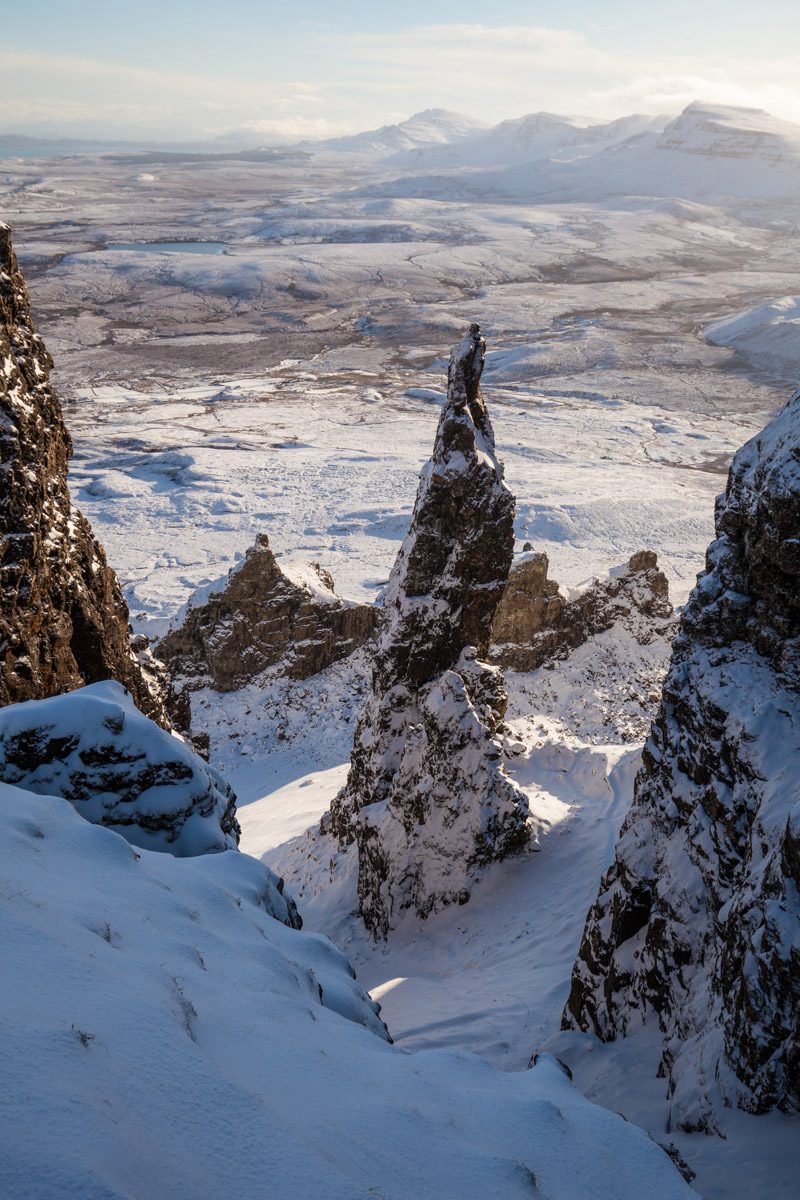
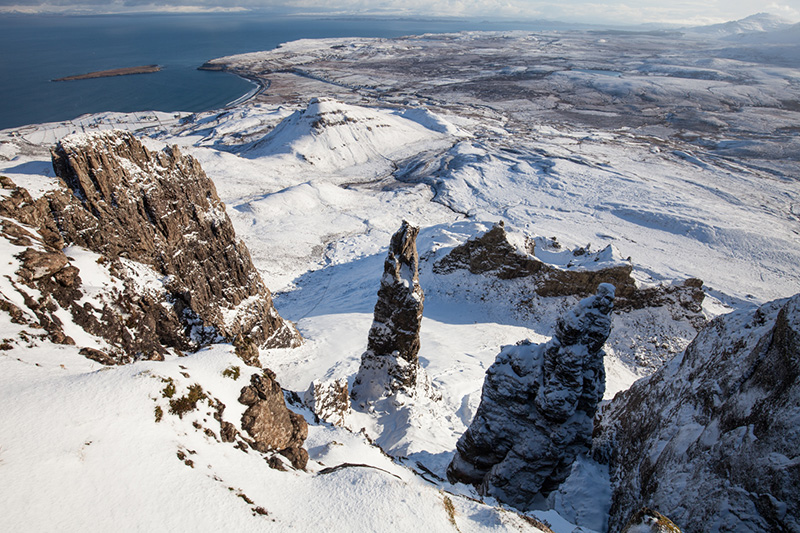
In the photo above for example, I wouldn’t have bothered getting the camera out had there not been snow between all the rocks, as the contrast would have been too great to capture detail in the sunlit areas as well as in the deeply shaded foreground rocks. The snow increases the amount of light in these shadow areas, but the sunlit area stays untouched – therefore reducing the difference between the brightest and darkest areas (contrast). Many photographers would get around this by doing a HDR (High Dynamic Range) approach, but I avoid this like the plague as it never looks authentic to my eyes, and I hate editing photos if they take more than a couple of minutes.
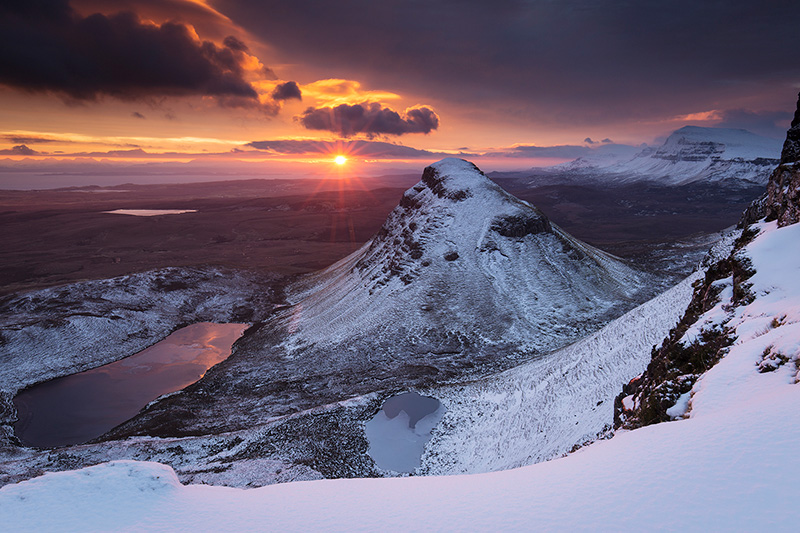
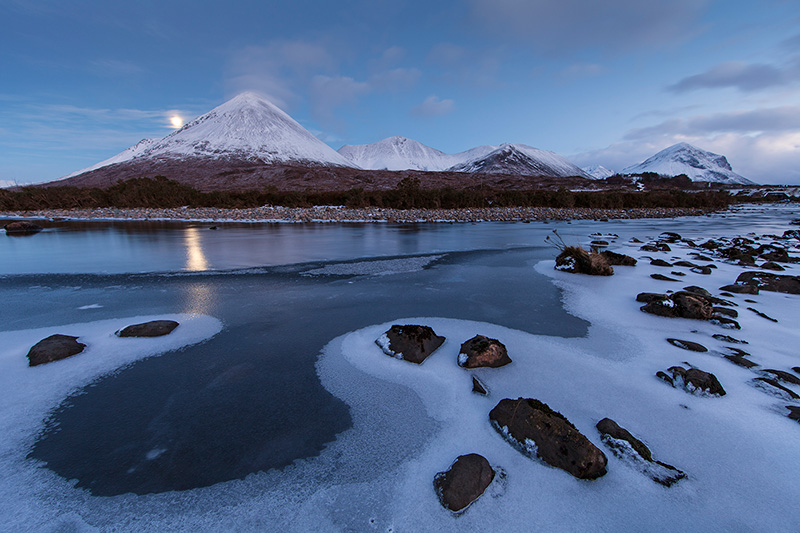
I’ll leave you with a few shots from this past week, and let’s hope these conditions last a while longer.